Wednesday, March 16, 2011

8/52 - Medal Winner

This last week I got my very first flash in the mail (along with a full Strobist, single flash, kit).
So, I spent some of the weekend and first couple of days this week playing around with it. It seems so simple to use off-camera lighting when looking at other people's pictures, but actually trying to put it to use yourself is a lot more difficult. I've done a lot of reading about off-camera lighting, looked at a lot of pictures and studied examples of how other people are using it. But, the first time I turned the light on and popped off my first shot with it, I was sadly disappointed in my 'natural' abilities.

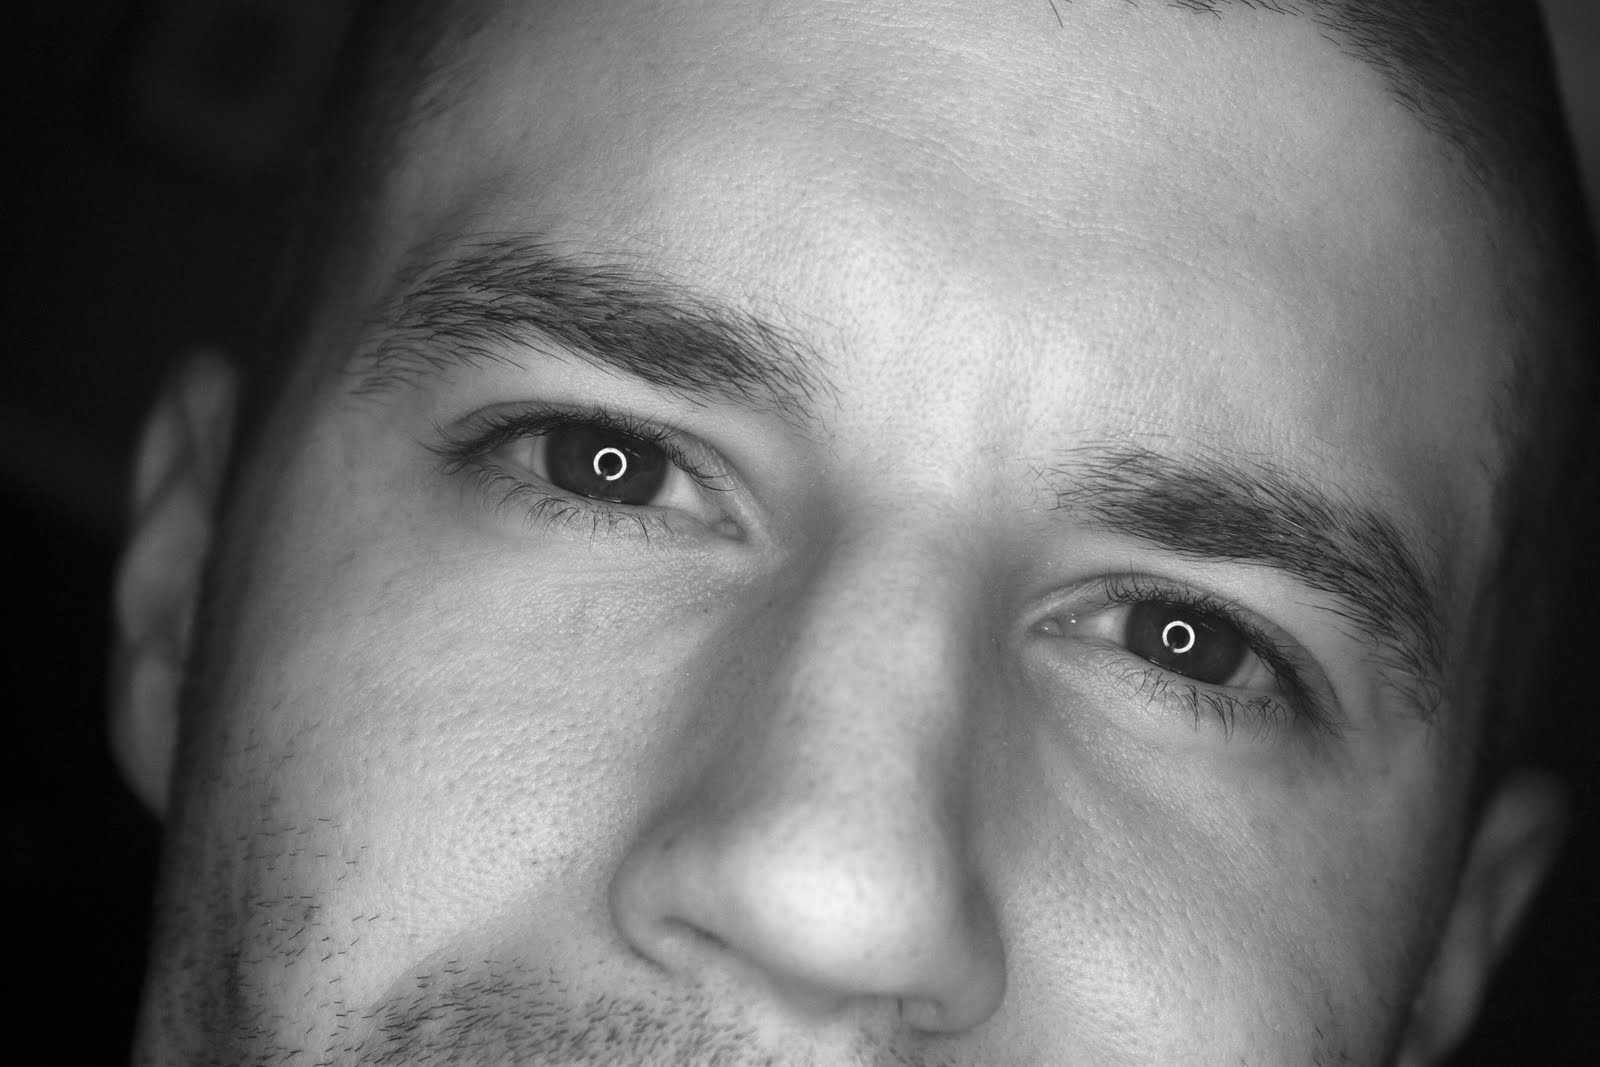
I had Paige sit in for me so that I could try to figure out flash output, distance to subject, angle, shutter speed, aperture, etc. I also played around with using a shoot through umbrella versus bare bulb. While she was patient with me, it got boring for her to just sit there, so I had to try using the timer and get in the shot myself.

It takes a lot of work to get a shot just the way you want it, and even at that, there's always something that you could do to make it better.

I know that I'm brand new at using off-camera lighting, so I don't expect to be all that good at it right away. It will take a lot of practice, but I'm excited to get into something new and excited to see some of the results that I can get.

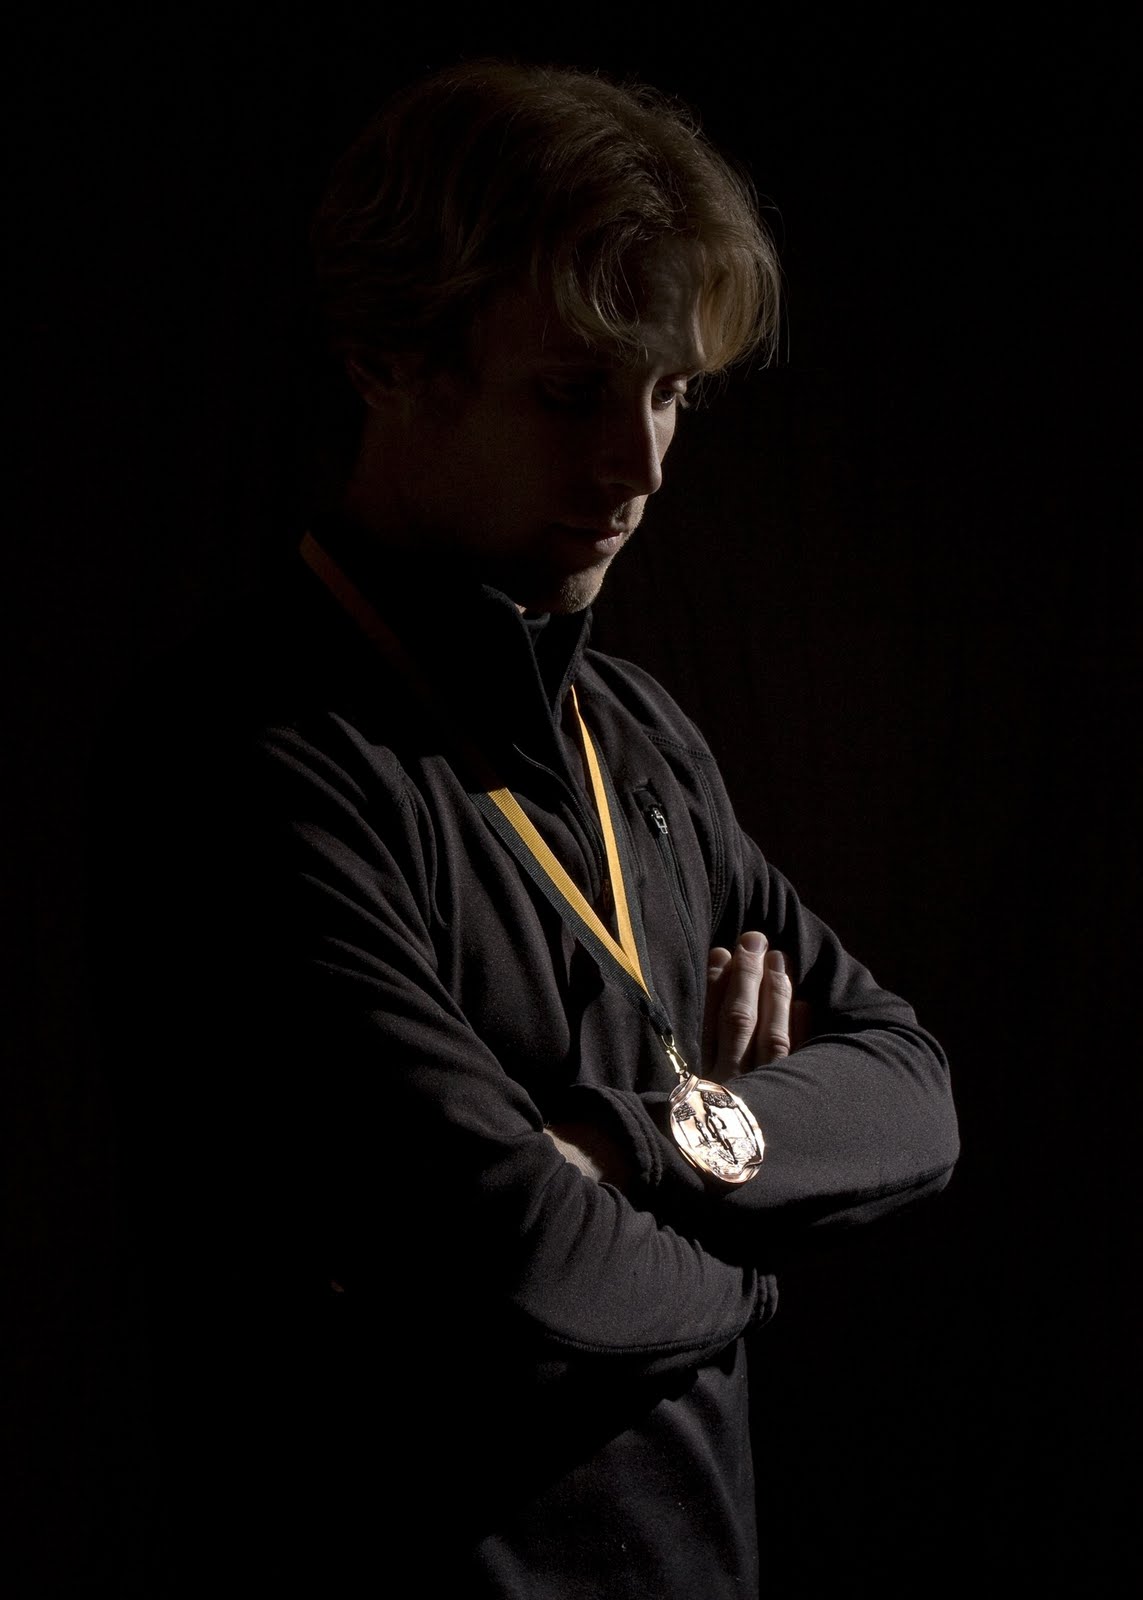
Paige's brother was in town over the weekend and the first half of this week. Last weekend we ran an 8k trail race and he ended up getting 3rd place overall (6 minute/mile split over 5 miles of hilly difficult terrain!). He got a medal and got to stand up on the podium and everything. I thought it was pretty cool, so I wanted to try to get a few pictures of him with his medal.

This first shot I took, I wanted to get a little more dramatic lighting that just kind of highlighted his profile and showed a little more emphasis on his medal. I shot this one with a bare flash, angled down so that the focus of the light was on the medal and the light feathered up slightly towards his face. I had the flash zoomed to about 50-85 mm so that it would be tighter and not spread too far. I also wanted to keep the background pretty dark and didn't want any light spilling back.


The second picture is more of a typical 'portrait' style shot. This was done with the umbrella on the flash to give a more even, softer light across his whole upper body. I had the flash zoomed out to about 35mm, which filled up the whole umbrella to create the softer light. I tried to take the background a little darker in post processing, but didn't do a great job, so he has a slight halo around him where I didn't fill properly. I'll fix that eventually and get the final picture posted in here.


All in all, it was a fun time. I got a few other pictures that came out pretty well, but didn't have time to mess with them and get them uploaded on here.

Thanks to Chad for posing for me and congrats again on killing it at the race.

Let me know what you think.

T.

Monday, March 7, 2011

7/52 - DIY Ring Light

OK, well, let me start off by saying that I know these pictures aren't great...technically speaking. This week, it was more of going for an effect than trying to make them great.

I'll try, over the next couple of weeks, to get better pictures using the same effect, but I wanted to at least get something posted for the week.

I've always really liked the look that you can get using a ring flash. Typically, ring flashes are used in close-up portrait photography or macro photography because they tend to give a nice, all around light with very little shadows. Also, when you're shooting portraits with them, you get a really cool, circular, catch light in the subject's eyes. You really tend to notice it when you see it and it always caught my attention.

Since ring flashes are typically very expensive, I looked around on-line a lot on how people made their own DIY ring flashes. One method I came across wasn't even for a ring flash, as much as a constant circle of light.

Using a Circline Fluorescent light bulb, they were able to get much of the same effect, for considerably less money ~ $10-$15 versus $300-$450. The down-side to this is that the light isn't nearly as powerful as a standard flash, so you have to get much closer to your subject to get the same light power, or slow down your shutter way too slow. Also, lugging around the light bulb versus having the flash attached to your camera is a bit of a pain as well. But, for $300 savings, I figured I could make it work.

So, I set about getting and building my own ring light this weekend. I got the bulb, which came along with it's own ballast, starter and light socket connection, then built a small cardboard reflector to attach it to (in order to use as much of the light bulb's own light as possible). In the picture of Paige, you can see where I attached the bulb to the reflector using black zip-ties. As soon as I get some white ones, I'll swap them out, so they'll be less noticable. Granted, you can fix all that in photoshop, but if you can fix it before you shoot it, you might as well.

So, that was about it. I'll keep playing with the light going forward and try to get some new pictures to add. But, as far as achieving what I was going for, I was really happy with the results. In the future, I'll look into getting a bigger light bulb, so I'll get a bigger circle as the catch light and less shadows in the picture, but for now, the one I have will work. I'm looking forward to using it more and seeing what I can get!


Let me know what you think.

T

Wednesday, March 2, 2011

6/52 - Scrounging for pictures

OK, so I'm not going to lie...I didn't get a picture for this week.

I traveled all last week, spending 20+ hours traveling via airplanes (when I could have driven in 16 or less), then got home and decided to remodel the kitchen. I had Friday off, so thought I'd try to get a lot of work done around the house with the long weekend. I did get a lot of work done, but it literally took me the entire weekend. I spent more than 30 hours between installing new counter tops, cutting and laying quarter-round on the baseboards and installing and grouting a new tile back-splash.

The good news is that it looks like we have a brand new, modern, warm kitchen versus what we had before. Check out the before / after picture.

Kitchen Before/After -

The bad news is that I had no time to do any shooting this last week. So, I don't really have any new pictures to put up. I've got one that I took a few weeks ago that I'll include.

When looking for a new picture to take, I saw a lot of self-portraits head shots that people have taken of themselves and I thought they looked cool. I wanted a picture that was just of my head and face and pretty much cut everything else out. I also really liked the B&W processing that I did on my pictures of Paige, so I decided to apply that to this image as well. I just wanted it to be a very basic image. I really like the specular highlights that a lot of people get in these images (the light reflected in the eye or something like that), usually either from a flash or window, so I wanted to try to capture the same kind of thing. Since I don't have an external flash, I had to try to capture one using daylight and a window.

So, I headed down to our big front bay window and started snapping away. Trying to get the correct focus at f/1.8, shooting a picture of yourself is pretty tricky, so it took me several shots to get my left eye as the focal point and get the image I was looking for, but I was really pleased with how it came out in the end.


P.S. I'm sure some of you will be happy to know that I've since shaved off the grungy beard...I was several days past a trim / haircut when I shot the picture, so it looks extra dirt-baggish.

Let me know what you think.


T